
I think my method works pretty well because it only uses things you can probably find in your recycling bins, and doesn't necessitate going out and buying sharp, poke-y chicken wire.
You will need:
Two kinds of cardboard, thicker and thinner
Stapler
Scotch tape or masking tape
Flour
Water
Newspaper
Paint
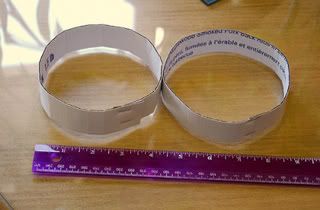
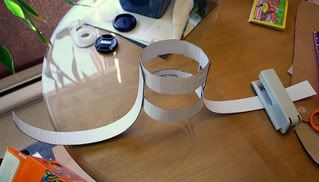
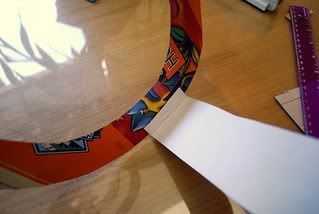
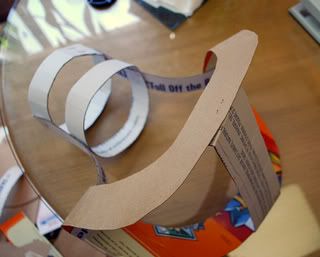
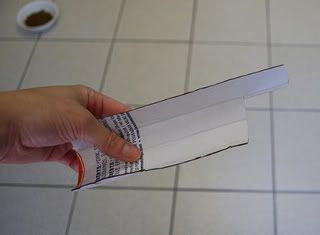
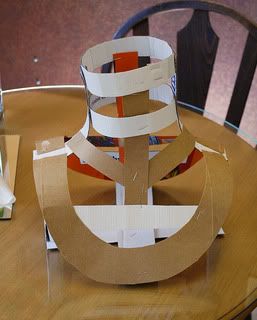
I started by cutting a strip of thick cardboard about an inch wide. I wrapped it around the top of my neck to get a rough idea of the circumference, then stapled it in a circle. The thick cardboard can be quite stiff; you may have to work it over with your fingers in the direction you want it to go, sort of like curling gift ribbon.
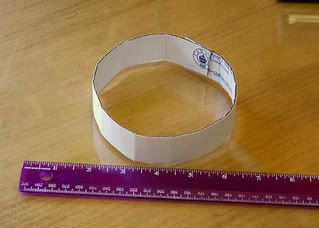

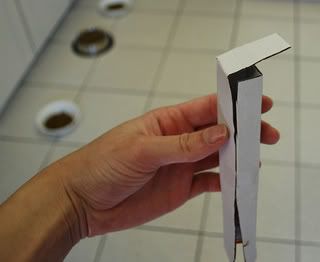
Then I made a second circle, slightly wider, for the bottom of the neck.
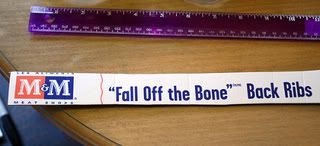
Incidentally, this cardboard came from a box of M&M back ribs. They're really, really good.
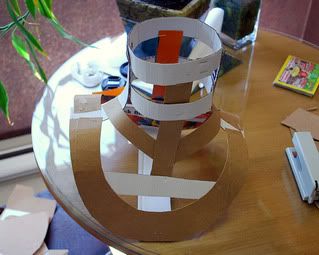
Next I cut two long strips an inch wide - maybe 15-18 inches long, and attached them to the two neck rings. These will form the shoulders.
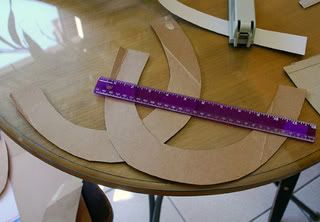
To make the chest, I used the thinner cardboard (from a case of Granville Island honey brown lager, I think - ribs and beer, we have classy recycling) and cut two wide U-shapes. I formed them a bit with my hands to make them curve nicely, and stapled them to the shoulder pieces. You can trim off any excess from the shoulders at this time.
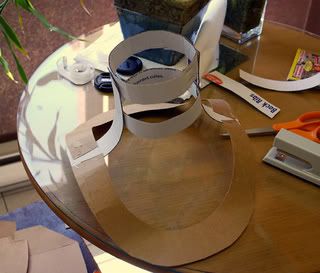
You will find at this point that your mannequin is a little saggy. To help correct this, I cut another strip from the thick cardboard. You can cut it as long as you like - try and measure it by propping up your mannequin and seeing how far you want it to splay out.
To attach it, I folded the strip over a bit at the ends and stapled it to the base of the U-shaped chest piece. Incidentally, you can staple or Scotch tape - I preferred stapling because my first prototype didn't seem to stick to the tape very well and pieces were always coming undone. But it's up to you! The staples won't show up later under the papier mache.
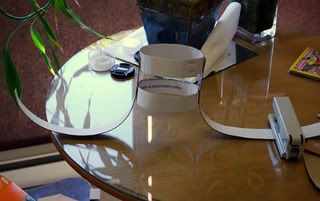
Next to give the form more stability, I cut a few strut-like pieces and attached them across the chest, as well as one long piece going down the neck and attaching to the neck rings.

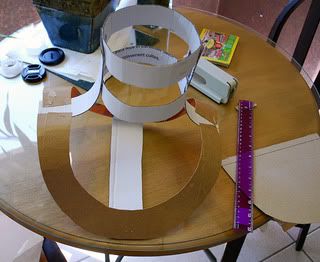
A few more strips of cardboard at the clavicles... I tried two different angles, on one side of the mannequin I attached the strips straight across, the other side I attached them at an angle. In retrospect, I think the angled collarbones were better, it was easier to attach the papier mache to.

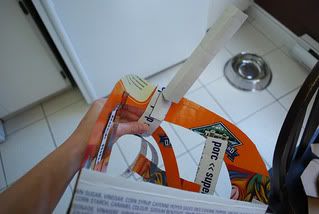
Even with the strip of cardboard along the bottom, I still felt the piece was a little too wobbly, and I knew from previous attempts that if the form wasn't stable enough, it would collapse under the weight of the papier mache. So I took a wide piece of thick cardboard maybe 4 inches across and 8 inches long.
I then bent it into the rectangular or triangular tube.


...and cut out a square from all but one side and bent it over.
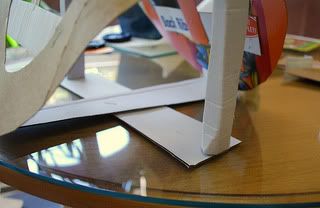
This flap was used to staple the support piece to the underside of the shoulder of the mannequin.
It just helped prop it up a bit. I did the same on both sides.

It was still a little slippery, so I added a long piece of cardboard going crosswise, and attached the base of the support tubes to that.
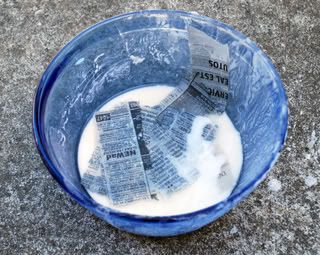
Ta da! The form is finished, now it's time to get messy! You can use whatever recipe for papier mache that floats your boat. Personally, I use 1 part flour to 2 parts COLD water, whisked together in a bowl with some cinnamon for good smell. I think I used a half cup of flour and a cup of water, and it was more than enough for two layers.
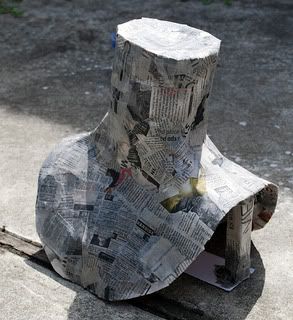
Here is the form after it's first layer, You can actually see there are some holes around the clavicles - I think this was the side where I used the straight collarbones instead of the angled ones, and there just wasn't enough structure to apply the newspaper strips to, so I had to wait to build up some papier mache first and let it dry before I could patch over the holes.
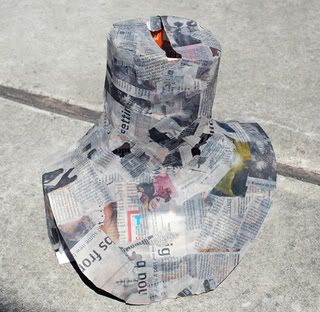

Here is the straight-collarbone side after patching up the gaps.

And here is the form after the second layer of papier mache! Each layer only took about 30-45 minutes to dry, since it was about 30C out with a nice breeze!
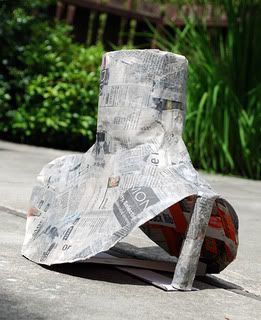
I also decided to layer over the support pieces, to make them a little stronger.
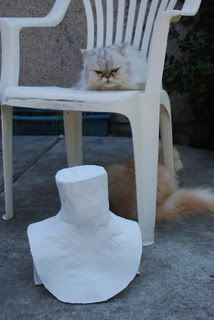
To finish up, I covered the mannequin with two layers of matte white paint.

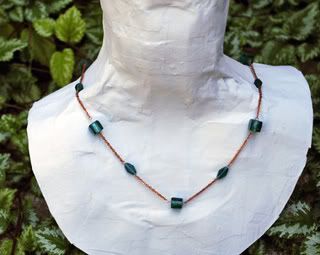
It's not perfect, uniform, or smooth like a store-bought mass-produced mannequin would be, but it's original and unique and a fun weekend afternoon project! There are also so many different variations of this that would be fun - you could use cool paper, like sheet music or patterned wrapping paper or old-style letters. You could soak them in tea or coffee first or use coffee in your papier mache mix to give it an aged, vintage look. You could also spray paint in all sorts of different colours, or use paints or felts to write or draw patterns or your logo on the mannequin. For me though, a basic matte white was perfect!
This is just what I want! Hope mine turns out as nice as yours!
ReplyDelete