
A couple of weeks ago when I joined Pinterest, I noticed a chalkboard trend emerging, and I immediately knew I must jump on board and have a chalkboard on that wall. Davis, of course, had to be practical.
"We can't hang anything really heavy from that wall," he said.
I found chalkboard contact paper.
"We live in a cave," he said. "We can't put that much black anywhere."
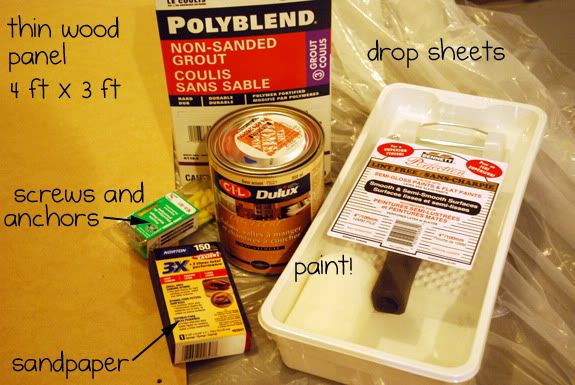
Finally I triumphed, with Martha Stewart's help: custom colour chalkboard paint. Davis had no more rebuttals, and on Saturday afternoon we went to Home Depot to buy the following supplies:
- thin wooden board
- unsanded tile grout
- paint
- painting supplies (roller, tray, drop sheets)
- sand paper
- screws and anchors to hang
- chalk
Our paint colour is called Ships At Sea - not black, and picked to complement the Hokusai prints we have hanging in the kitchen.
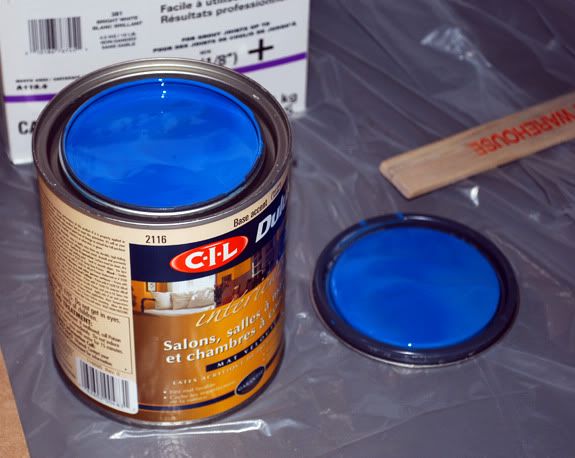
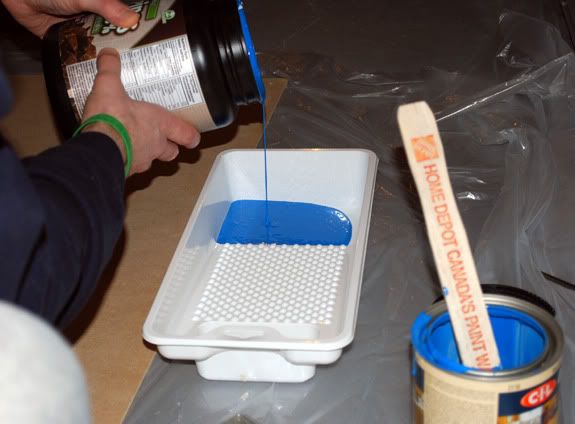
Martha recommended a ratio of 1 cup of paint to 2 tablespoons of tile grout. In retrospect, I would recommend sifting the grout to get the chunkies out, but we found another way to deal with them. Because we thought we'd use a fair amount of paint, we poured it into an empty container which made it easier to stir the grout in.
Then we got to painting!
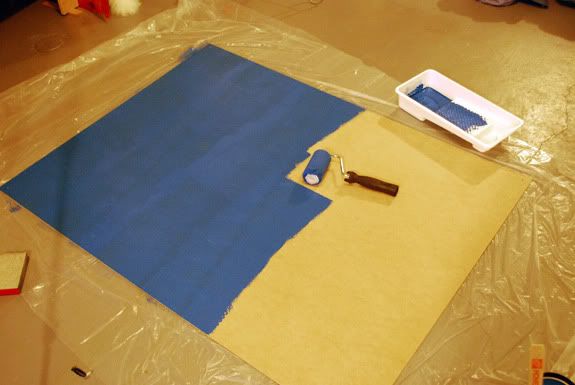
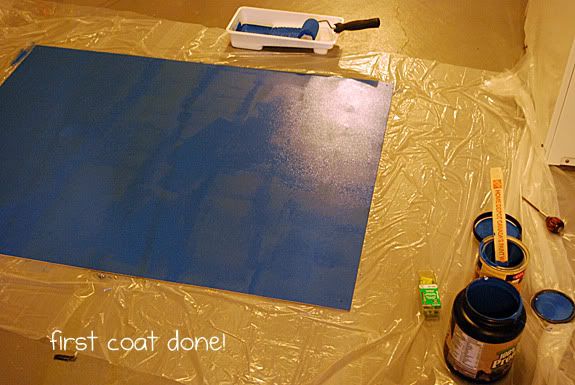
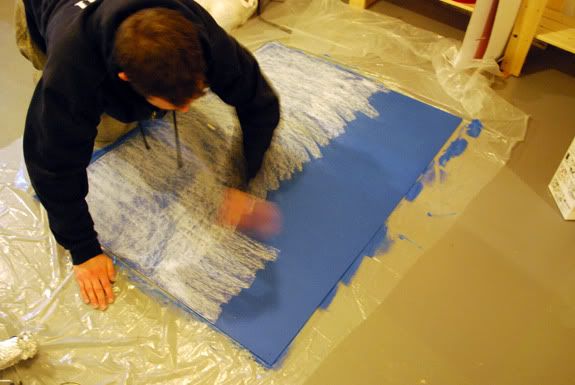
We did four coats - we sanded after the second coat and found some of those grout chunkies I told you about, and they made nasty white streaks across the paint. For the next two coats, Davis just rolled the paint really hard and squished down the chunks and then painted over them right away - but it probably would have been easier to sift the grout at the beginning.
We also didn't want to leave out the wet board overnight (see above picture) so after the third coat was dry we wrapped up the board in drop sheets and started the last coat Sunday morning.
Once the last coat was dry and sanded (no more streaks!), we had to prime the chalkboard - which is something you're supposed to do even with pre-made chalkboards - by rubbing a piece of chalk over the entire surface and wiping it off.
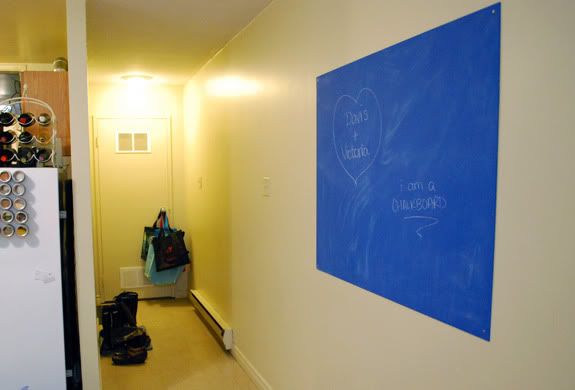
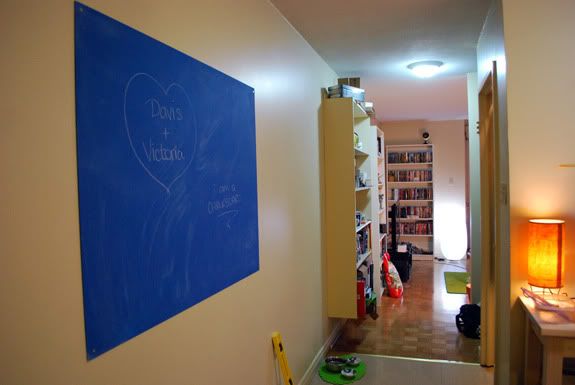
Et voila! Davis hung the chalkboard, and we were done.
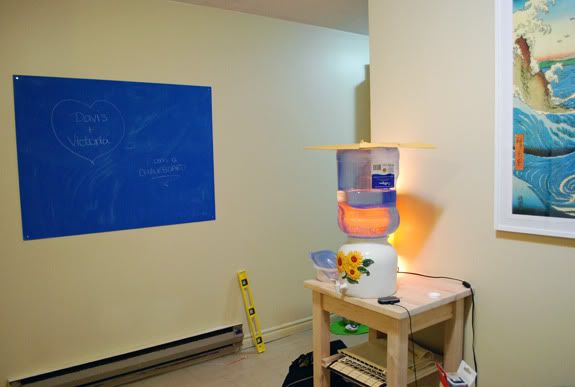
I'm very happy with my chalkboard - it works really well, although it doesn't wipe quite as clean as a normal chalkboard would. But it's totally worth it to have a blue chalkboard.
All together, the materials cost about $60. This was a little pricey, when a pre-made chalkboard that was a few feet larger was the same price. I think the biggest cost was the tile grout at $20 - because it only came in a giant box, and I only needed a few tablespoons. If they'd had it in a smaller size, that would have saved some money. The boxes of screws and anchors were probably about $15 together too, so if you already had four screws lying around you could also save that amount as well. Otherwise, the rest of it was pretty cheap - $5 for the board, $13 for the paint, and less than $10 for the painting supplies. Even with the $60, I still think it's worth it - paintings can cost that much, and this will be a constantly evolving creative space - like having a different artwork every day!
Super fun! Great colour, too!
ReplyDeleteGreat idea! And I love that you can custom colour it! ;)
ReplyDelete