
There are a billion tutorials on how to make a light box on the Internet - I mostly referenced ones from Lars and Addie, Strobist, Digital Photography School, and DIY Photography.
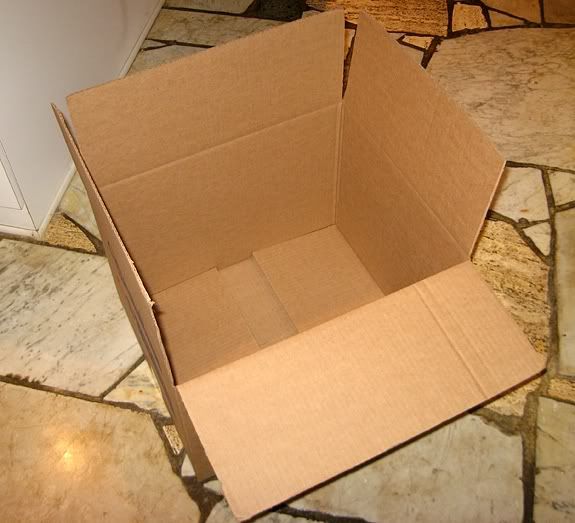
Step 1: Find an appropriately sized box. One of the websites above suggests one with of no less than 15 inches per side. I used a small moving box.
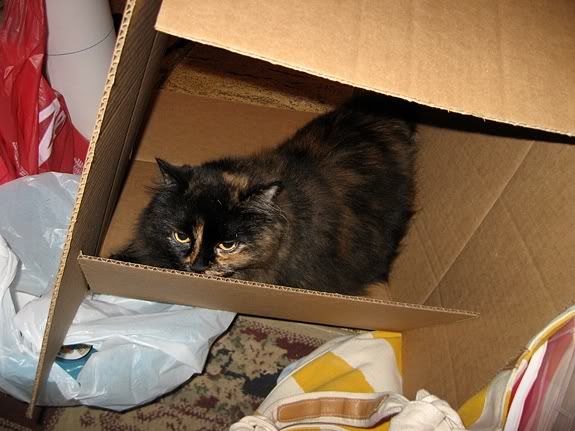
Step 2: Remove cat from box.
Step 3: Begin cutting squares out of three sides of the box, leaving 2" borders around each window.
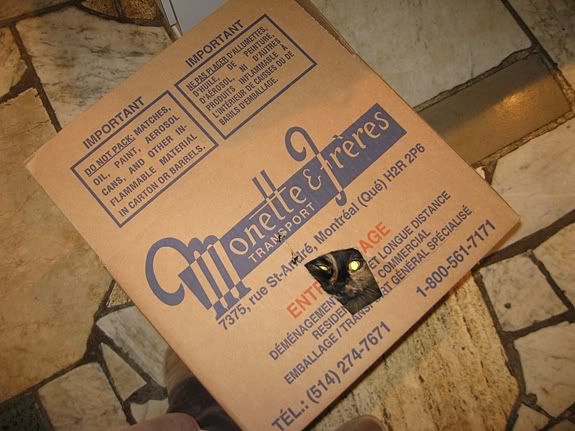
Step 4: Remove cat from box.
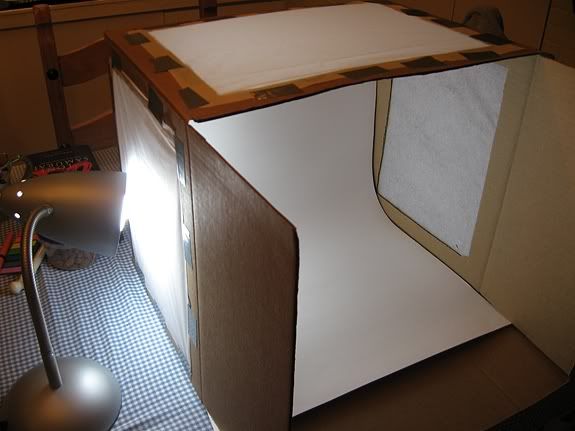
Step 5: You should now have three windows cut out of your box.

Step 6: Cut three pieces of white tissue paper or very thin white fabric to fit your windows and tape them to the sides. I used tissue paper and I was happy with that, plus it was easier to find.
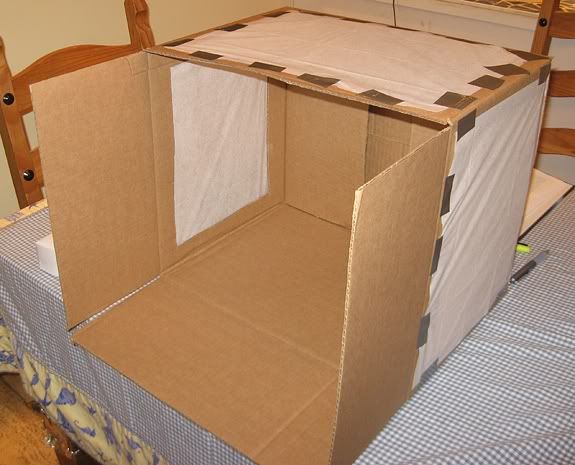
Step 7: Cut a crinkle-free piece of white bristol board to fit the width of your box. I used two looped pieces of duct tape to adhere it to the top of the box at the back.

Step 8: Find two or three adjustable desk lamps preferably with daylight bulbs. This was the most expensive part of the project because we're living with Davis's parents at the moment, and they are big on mood lighting and not so big on functional lighting, so I couldn't scrounge up any lamps from anywhere. I bought 60 watt equivalent bulbs, but I think that was too low - next time I go out I'll try to find some 100 watt ones.
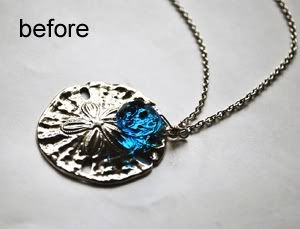
Honestly, this project took me less than an hour to make, but it think it'll be one of the better investments I've made for my shop (that and the steel punch that I am anxiously awaiting delivery of...). It was easy, relatively cheap (and could be cheaper), but it made such a huge difference in my photography. I found it so difficult to judge good lighting conditions outside, and I'd end up with either harsh lighting or dull lighting (according to craftgawker). But, I am pretty happy with the quick test pictures I took!


I also made some cool discoveries about my camera - I have never shot in full manual mode before - the most I have done is aperture control or shutter control. But my photos were still coming out dark even in these settings, so I figured there must be a way to increase the light coming into my camera. I don't think I did it correctly, but I did discover that the little meter on my camera - the one with a plus and minus on either end - doesn't have to be at 0 to take a satisfying photo. I was shooting many of my photos somewhere between 0 and + and they were coming out bright and happy. I'm sure there's a way to fix the aperture and shutter speed so that they're still bright enough at 0, but it worked for me! Also, the tripod I got as a belated birthday present was a godsend - it meant that I could set up the shot and focus it, then make all the adjustments I wanted from the back of my camera and shoot over and over without having to squish my face up to the viewfinder each time.
Between the tripod and the lightbox, I'm actually looking forward to photographing my jewelry now!
i have made this exact lightbox before! in fact, i used it for many of my older pictures but 'step 2 and 4' kept needing to be repeated to the point that the perpetrator won and the light box became a sleeping box... anyway, great job - your photos look marvelous. :)
ReplyDelete-Robbin
What a great post! The before and after pics are amazing.
ReplyDeleteawesome job! this gives me ideas if i can find a big enough box :)
ReplyDeleteand cute kitty
The difference is amazing! Beautiful stuff...I think kitty wants to be photographed next.
ReplyDeleteI made a light box a while back from the Strobist tutorial you mentioned. Lol @ your cat in the box :) Gracie loves to jump in boxes too!
ReplyDeleteI just got Photoshop. What's the best way to brighten up shop photos without making the lighting appear too harsh? If you don't mind sharing of course :)
great tutorial... I should make one, my pictures need some help.
ReplyDelete